V 1.0, English
Requirements
QuickStart
Setup
Audio Level
Start EVE
Account-Information
Output-Settings
Event-Map
Dictionaries
Event-Settings
Recording
Start Voice Recognition
Output-Window (Listener)
Corrector-Window
Download Transcript
We tried to keep this Manual as simple as possible. To keep with this simplicity, we won’t differ between genders. Everyone is addressed the same (you, they, them). You can find the latest issue of this Manual at www.starteve.ai/support. There you’ll also find a Changelog, FAQ and Webcasts. The following formatting is used in this Manual:
[Example] is a button on EVE’s surface.
Example is a label on EVE’s or an OS’s surface.
„Example“ is a key on your keyboard.
EVE works regardless of browser, OS or device. She behaves just like a Website. The Service works on all major Smartphones, Tablets, Laptops and Desktop-PC’s with internal Microphone or external Microphone input. We’re testing EVE on the most recent versions of Chrome, Edge and Firefox with the latest releases of Mac OS and Windows.
EVE needs:
Active Internet Connection
Speech recognition device
Clean incoming voice signal
Optional:
human corrector
output device
For those of you, who are in a hurry- here’s the QuickStart. But to get to know EVE and all she can do, we recommend reading the rest of this guide.
- Buy a package on starteve.ai and create your Account.
- Log in on starteve.ai
- Create an event, choose a name and language
- Open the Output-Window
- Start record und talk into the microphone
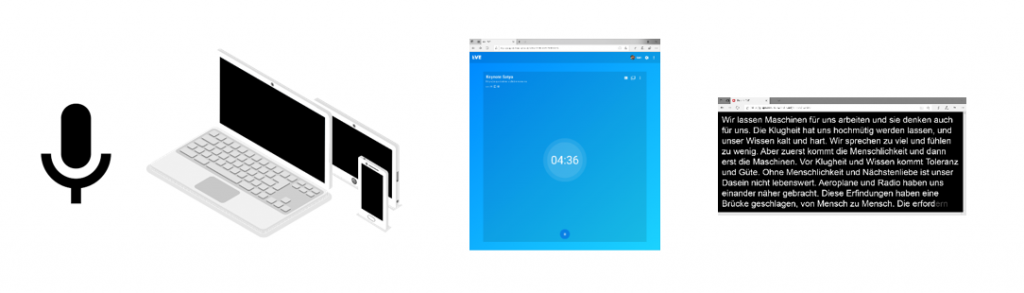
Connect your device with the sound signal. In case, the event hardware transfers sound via XLR, the right USB-Adapter or USB-Audio-Devices are helpful.
EVE converts spoken words into text and sends it to an optional corrector-screen. There a human corrector can implement changes, if necessary, and publish it. Afterwards the Text is published on the Text-Output-Screen (Listener). You can show this window on a separate device or your viewers can open the website themselves and can read the texts on their own device.
EVE’s quality depends on the delivered sound signal. So, take care that the sound isn’t over-or under leveled and is free of noise, effects or music, because this would make voice-recognition impossible and EVE would deliver only gibberish.
Windows 10
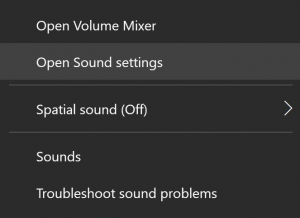
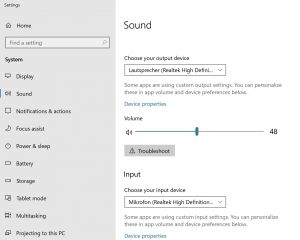
Level Control: Windows 10 shows you the Microphone-Level when you click the speaker symbol with your right mouse button – right hand corner of the lower screen frame, besides the clock. Choose Open Sound-Settings. Choose the right Microphone under Choose your input-device. The level at Test your Microphone should indicate clearly if someone is speaking into that Microphone. The Level should not reach the end of the bar but indicate distinctly over the middle. Click Device Properties (under Input) and adjust the Microphones sensitivity under the Tab Levels with the slider.
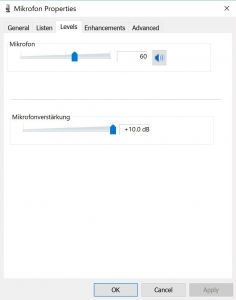
Check Level: If the Level is right, but EVE can’t recognize anything or only nonsense even with the right language setting, it’s best to check the signal quality. Maybe the Microphone-Signal is not clear because of music, white noise or other disturbances. If you’re using an USB-Audio-Device you just connect your headphones, as usual. If you’re using an USB-Adapter you check via the OS: Open sound settings, like described in the paragraph above. Choose Device properties. Then go to the tab Levels. Check Listen to this device. You can listen to the signal the Microphone receives directly over your headphones or speaker now, so you can check it. Don’t forget to change that setting back, when you’re done.
MAC OS
Check Level: Within MacOS you can check the Microphone Level, when you open the System Preferences, choose the category Sound and click Input. The level should indicate clearly if someone is speaking into that Microphone. The Level should not reach the end of the bar but indicate distinctly over the middle. Adjust the slider of „Input Volume“ and check „ambient noise reduction“.
Check Level: Unfortunately, this option is not available in MacOS. We recommend to use an USB-Audio-Devices. There you can connect Headphones to listen in.
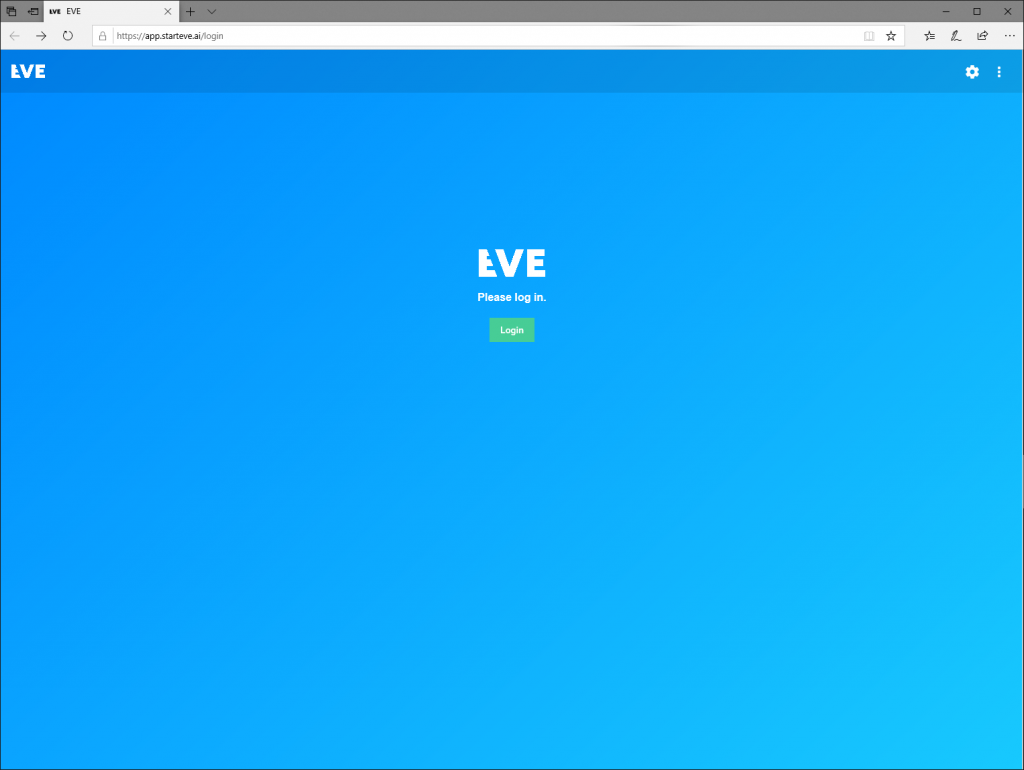
At https://app.starteve.ai you can find the online service. To use it you need to set up an account and buy a package of hours. Both you can get at the shop at https://www.starteve.ai/
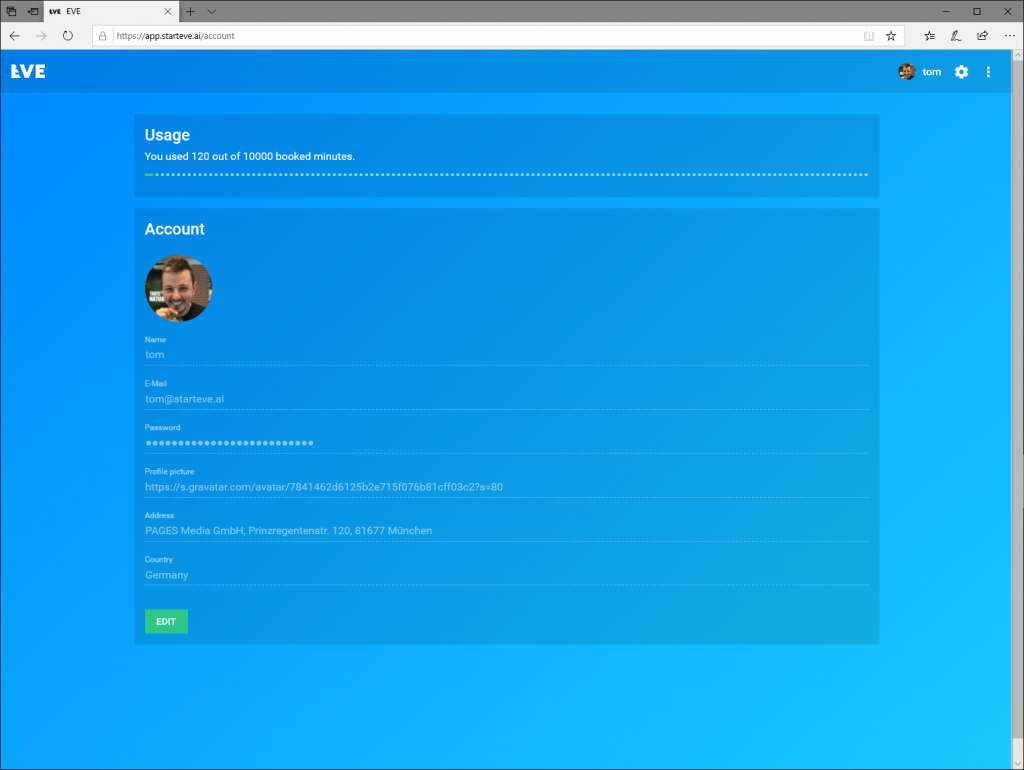
Click on your avatar or name in the upper corner, right hand side to open your account settings.
Under Usage you can check how many minutes you bought and how many are left. If you need to buy more minute’s visit www.starteve.ai/#pricing
In your account you can find all your account data. Click [Edit] to change them. Now you can edit Name, e-mail, password, the link to your profile picture, address and country. Any change of your e-mail-address EVE will verify with a test-e-mail.
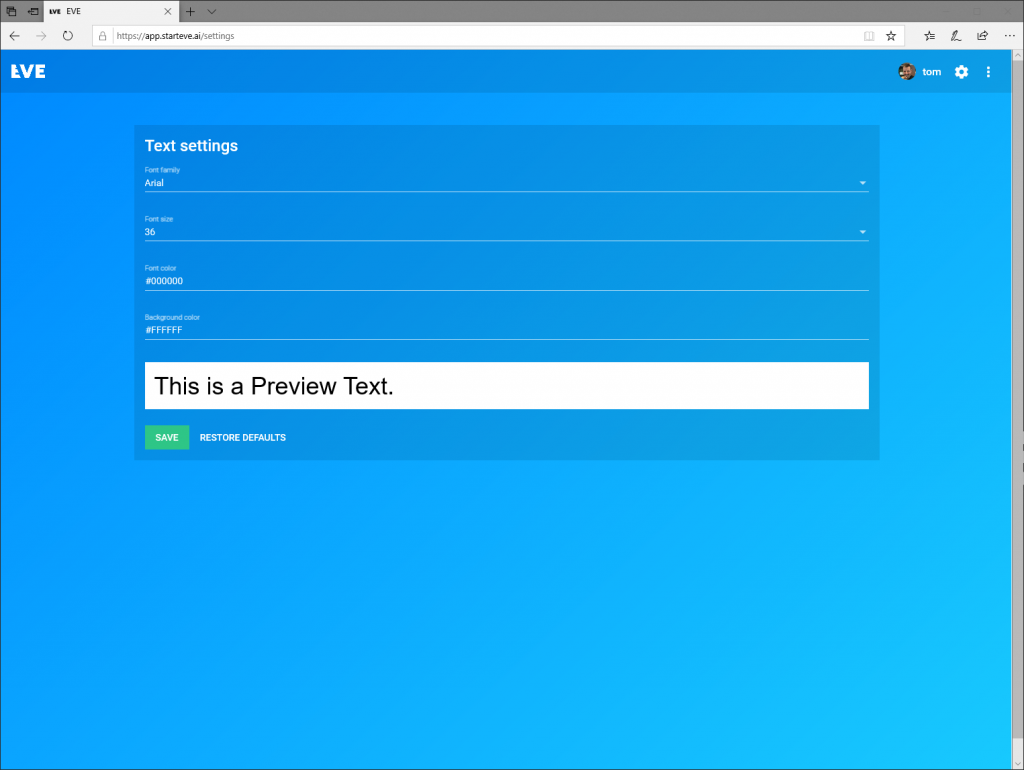
Click the [Cogwheel-Symbol] in the upper right-hand corner, to open the settings for the output window. Here you can choose the font, font size and -color, also the background coloring. You can find a list of color codes at https://www.color-hex.com/color-names.html.
With Font transform you define if the output happens in [Uppercase] i.e. HELLO, [Lowercase] i.e. hello or in Upper- and Lowercase Letters [Original]. i.e. Hello.
The preview segment shows your changes instantly. Click [SAVE] when you’re ready. With [Restore Defaults] you return to the default settings.
All you created Events are shown, in your Events Map. In the upper left-hand side, you can change between tiles or a list. The little symbols under the event names show you the active settings for this event.
Checkmark = Corrector active
Star = Swearword filter is on
Lock = Output is password-protected
Globe = automated translation is allowed for output-window.
Dictionary = EVE uses one or more dictionaries for this event.
Rotating ring = EVE is training the dictionaries allotted to this event.
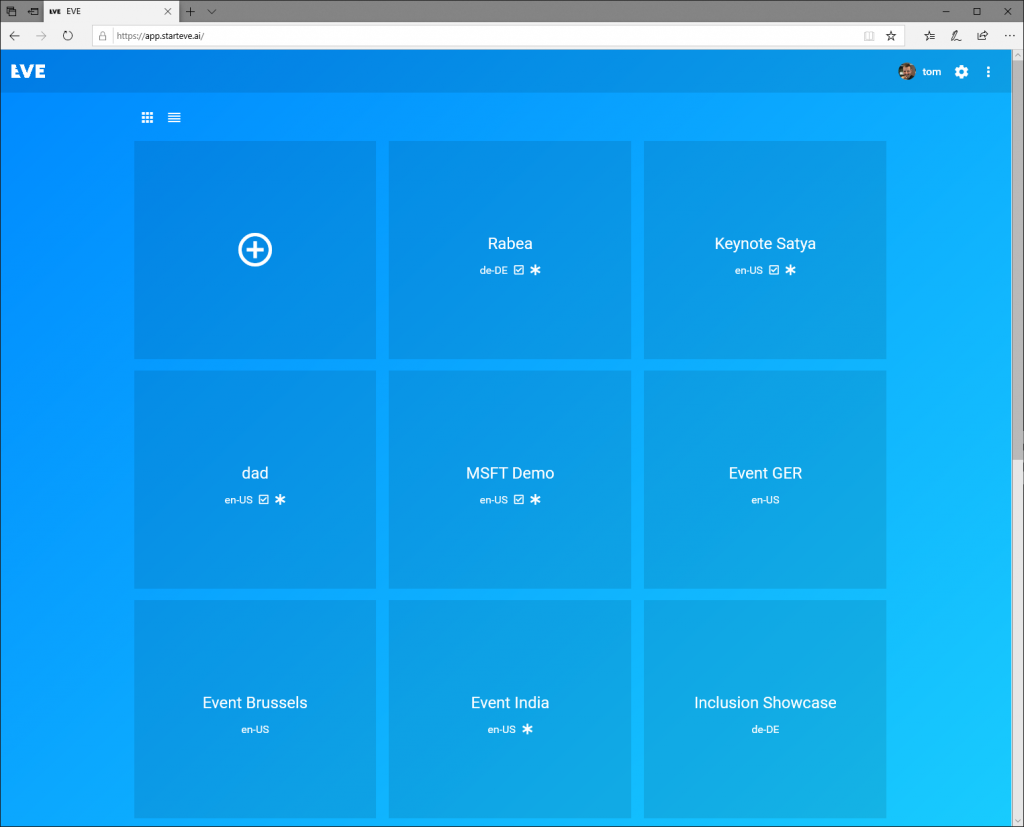
Click [+] to create a new event. Name the event. EVE will use this name to create the output link of your event and it will be shown in the URL. You can change the URL before the event starts. But keep it simple.
In the next line you can create a password so only users with this password can see these subtitles. This makes sense when only specified group of people should be allowed to see them, but don’t forget to communicate the password to all the event guests.
Under [Language] you choose the language EVE should recognize. Is your Event multilingual? No problem. Just change the setting during the Event. But give EVE some seconds to adapt to the change.
Activate the [Corrector] when a human Corrector is appointed for the event. EVE will then supply the recognized text blocks in the corrector-window. Its address is like: https://app.starteve.ai/corrector/EVENTNAME.
Attention: If your corrector doesn’t approve the text, it won’t appear in the text-output-window (Listener). EVE only publishes, what is approved for it.
By using the [Swearword filter] you can make sure that no obscene words like (i.e. s***) are shown on the screen. EVE always obscures swearwords with stars, but if these are shown, most can guess the word anyway. This filter suppresses the words from being shown completely, even with the stars.
[Allow Translation] is only available if this feature was enabled for your account. If you don’t see it, please contact support. As soon as you activate this feature, the event’s listener window will have a small check mark at the bottom of the screen. Behind it, you find a language selection. If the User chooses a language different from EVE’s output, EVE translates automatically. But this option slows down the output, because EVE needs whole sentences for the translation. In addition, clean pauses between sentences are necessary, because EVE separates sentences by pauses. A corrector is particularly important here. If someone talks without pauses, EVE has a hard time translating well. A corrector will prevent the translation of words EVE didn’t recognize right. If this happens, the sentence will make no sense and the translation will be faulty.
Create your event with [CREATE EVENT]. After chose all your settings. EVE will then change into the Event and you can start.
![]()
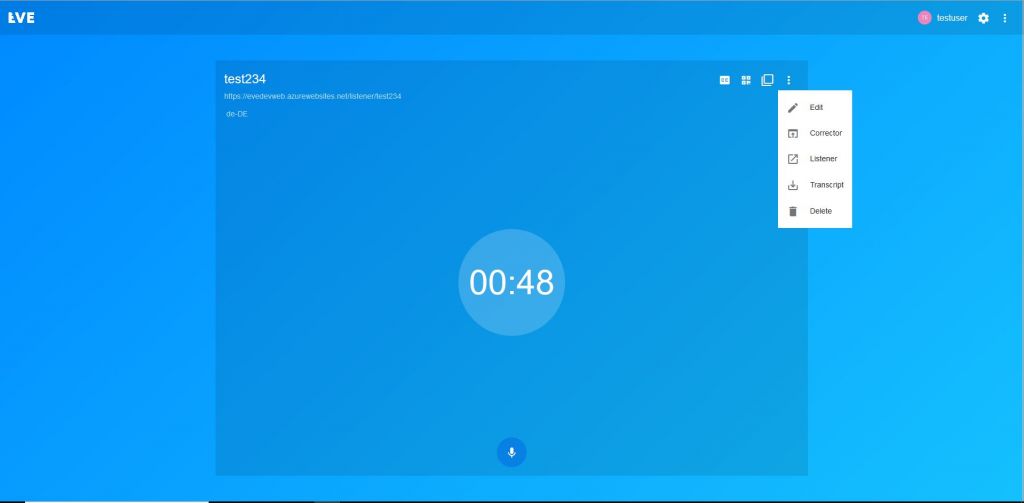
In the Event-Overview you can see all your settings. On the upper left-hand side, you can find the name, and under it ,the URL of your output window. The symbols in the next line show your chosen setting. You can change these anytime.
Language code = language to recognize
checkmark = corrector is active
star = swearword filter is engaged
Lock = Output is password-protected
Globe = automated translation is allowed for output-window.
Dictionary = EVE uses one or more dictionaries for this event.
Rotating ring = EVE is training the dictionaries allotted to this event.
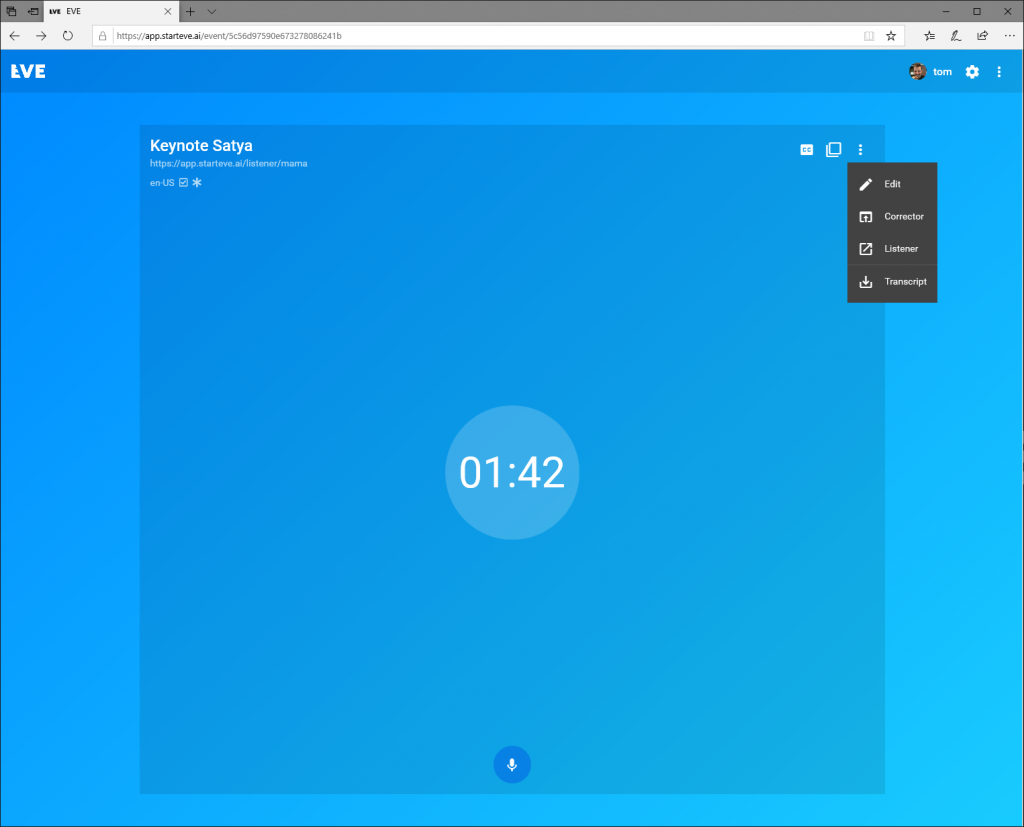
On the upper right-hand side, you can see the button [CC]. With it you can test, if EVE recognizing correctly. The next Button (4 little Squares with a dot) creates a QR-Code, which will open the output window, when scanned. You can also display the QR-Code on the event area of a screen or print it on brochures and on display stands. If you want to send the Code click on [Copy Link to QR Code ] below the Code. A new window with a direct link will open. Anyone can access this URL, even without an EVE account. With the symbol besides it, you can copy the event link into your clipboard. Under [⁝] you’ll find more options. [Edit] leads to the event settings.
With [Corrector] you open the correction window. [Listener] opens a second Text-Output-Window (Listener) without the Browser’s toolbar. That is useful if Input- and Output-Device are the same. With [Transcript] EVE creates a PDF with all the content, she recognized during the Event. If someone downloads a transcript during the event, it will show the current status.
Delete an event
Click „Delete“ to delete your Event. EVE will give you the choice to really delete it [Move to Trash] or [Cancel]. The event is not completely deleted, yet. You can still find it in your trash bin. You can open it, via [:] and [Trash]. Here you’ll find all your discarded events. You can either [Restore] them or trash them completely via [Delete permanently], after confirming a security question. Restored events will appear directly in your event overview.
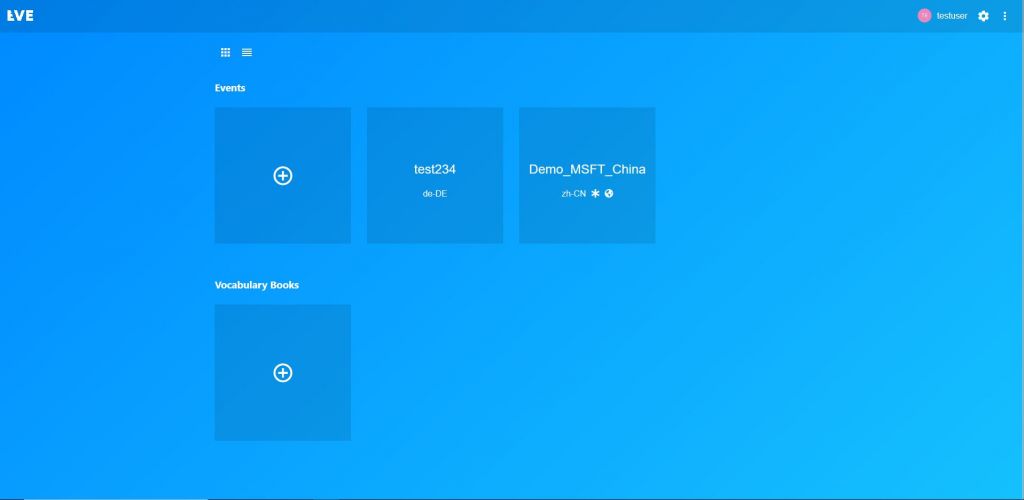
With Dictionaries EVE can learn jargon or i.e. complicated surnames. You can find an overview of your dictionaries in the main window of your events. Training EVE and using dictionaries costs extra Minutes. A warning will appear, accordingly. You can upload 50 dictionaries max. per User.
Creating a Dictionary
In your main window, click [+] beneath Vocabulary Books. Assign a distinct name and choose your language via Language. Enter all the technical terms you want EVE to learn. Use comma or enter to confirm each word. If you have added all your terms, you create your dictionary via [Create Book].
 Train your Dictionary
If all terms are enterde click [START TRAINING]. EVE will take up to 30 Minutes to learn the new words. As soon as she has finished studying, you’ll get an Email and the training will be shown as finished. You can allocate a dictionary to an event, before it was studied. Of course it will only be used, when EVE has finished to train it.
 Changing a dictionary
To change a dictionary, simply open it and add or remove terms. Confirm at the end with [SAVE]. Each change in your dictionary requires a new training, even if only one word has been deleted.
Allocating a Dictionary
Open or create an event and activate [Use custom vocabulary books]. In the selection box underneath, you can select one dictionary per language. If you change the language during the event, EVE will automatically switch to the correct dictionary. However, it is not possible to select several dictionaries in the same language.
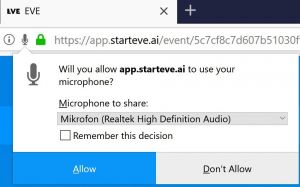
Click the [ Microphone ] below the bubble showing the time to start the speech recognition. When the time is running, EVE is listening and sends – according to your settings, the text to the Corrector-Window or directly to the Text-Output-Window (Listener). If you try an event, which has a corrector active, but not connected, a corresponding warning message appears.
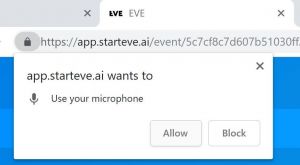
When you’re working with EVE for the first time, some browsers will ask for permission to access your microphone. If you need to choose between several devices, choose the right one. Then give your browser permission. The best choice would be permanent and not just for this session.
Attention: Some browsers (i.e. Firefox) don’t care which microphone was chosen in the OS and let the User choose. Chrome and Edge however use the standard device of the OS. If more than one microphone is connected to your device (i.e. Laptops with integrated microphone and an USB-Adapter for EVE, see Setup) you need to choose the right device: Windows 10 Users go to SettingsSystemSoundInputdevice and choose the right microphone. MacOS-Users click systempreferences/sound/input and choose the right device. In both cases you can test the microphone on the spot.
When Eve is up and running, the text appears immediately in the Output-Window (Listener). If the Corrector-Window is active, text blocks will appear there first and need to be cleared for publishing.
Open the Corrector-Window via [⁝] in the Event or by typing its address in your browser. The address always is https://app.starteve.ai/listener/EVENTNAME.
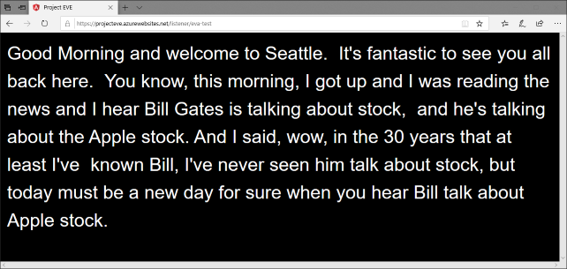
The Text-Output-Window (Listener) shows the text as defined in Settings. The Standard-Setting shows white Text on black background. The Text-Output-Window (Listener) is synchronized in all windows – regardless if it is a mobile device in the audience’s hand or a big screen on the stage. The max. headcount of viewers in one event is 1,000.
Shortcuts (for every Browser):
„CTRL“+“+“ zooms into the Browser Window (counts for all Windows)
„CTRL“+“-„ zooms out of the Browser-window (counts for all windows)
„STRG“+“0“ Zoom factor is 100%
„F11“ Changes into full screen without task- and toolbar
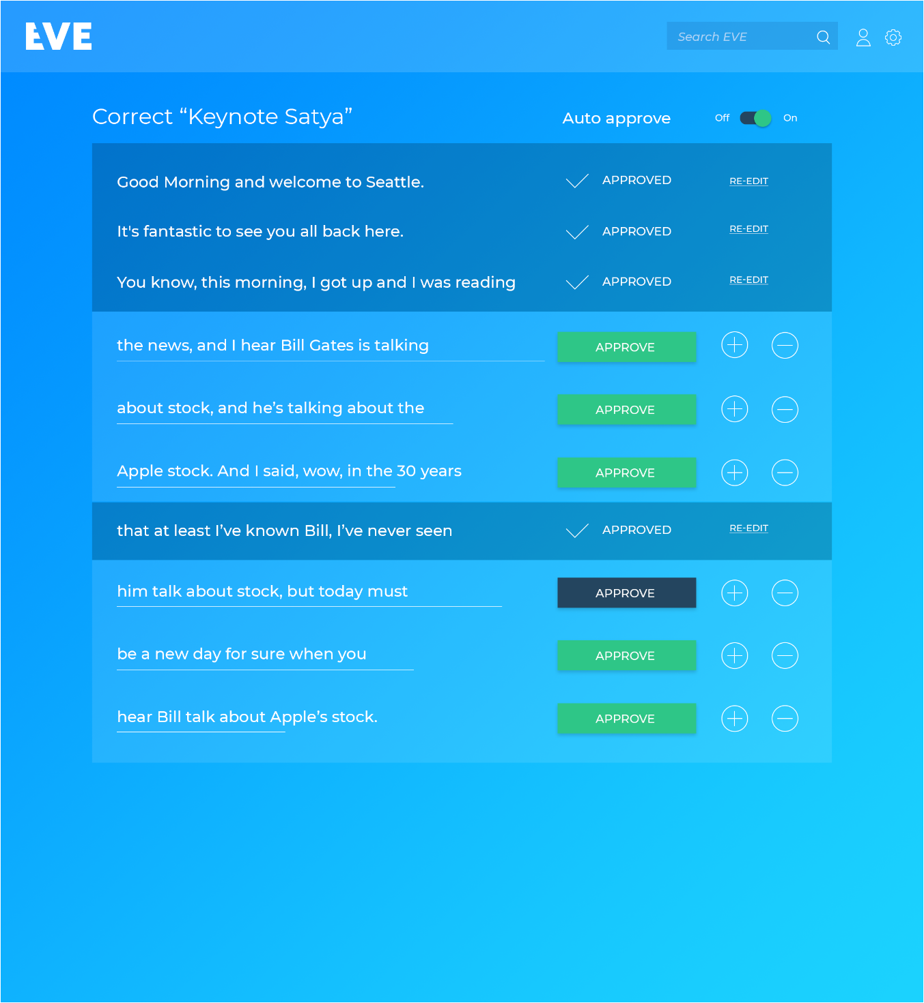
To employ a corrector, the feature needs to be activated in Event-Settings. Open the Corrector-Window via Event-Settings or by typing the URL into your browser. The URL is always https://app.starteve.ai/corrector/EVENTNAME. EVE also support a corrector team. To work together they just visit the same webpage. Text blocks which are worked on by a corrector are locked for his colleagues and appear darker.
The Button [Auto-Approval] activates automatic publishing. EVE then clears text blocks after five seconds automatically.
Correct a text by changing it directly. Click [Approve] to clear the current text block. The block gets darker and appears in the Text-Output-Window (Listener). If you make a further change and then click [Approved] the text in the Output-Window gets updated. Of course, you can highlight the text and Cut (STRG+x), copy (STRG+c) and paste (STRG+v) it. With [+] you can add an empty line, [-] deletes the adjoining line.
Shortcuts:
Open the Shortcut Window in the Corrector-Window with „?“or close it with „ESC“.
„STRG“+“BACKSPACE“ delete the current text block
„STRG“+i“ add an empty text block.
„STRG“+“Enter“ clear the latest text block
EVE saves every word she recognizes into a pdf-file. Click [Transcript download] to start the pdf download.